Download Jitterbit Studio in Windows, Linux and Mac in Simple steps:
Download Jitterbit Studio in Windows and Mac in Simple steps:
Note: Jitterbit is not an open source software that can be downloaded, but it does offer a trial account license that allows anyone to install Jitterbit Studio on their system. Jitterbit Studio currently only supports two platforms: Windows and Mac OS.

We cannot install Jitterbit Studio in Linux-based operating systems, despite the fact that Jitterbit Agent or Jitterbit Private API gateway are mostly configured in Linux-based operating systems due to their security, and organizations prefer Linux-based operating systems for Agent installation. Although, Jitterbit Agent can also configured in windows machine as well.
Pro Tip: Below We have provide the solution for Downlading Jitterbit Studio in Linux Operating System.
Stay Tuned!
The Jitterbit trial license gives us access to download Jitterbit Studio as well as other features, including the ability to access the Jitterbit Management Console and Jitterbit Cloud Studio and create APIs in the Jitterbit Harmony API Manager portal. The trial license can be simply renewed for an additional 30 days before it expires in 30 days. Prior to the license expiration, a mail will arrive asking you to renew it. If you click on the license renewal link before it expires, you can easily extend your license to every month.
Download Jitterbit Studio in Windows Operating System:
To download the Jitterbit Studio, follow these instructions.
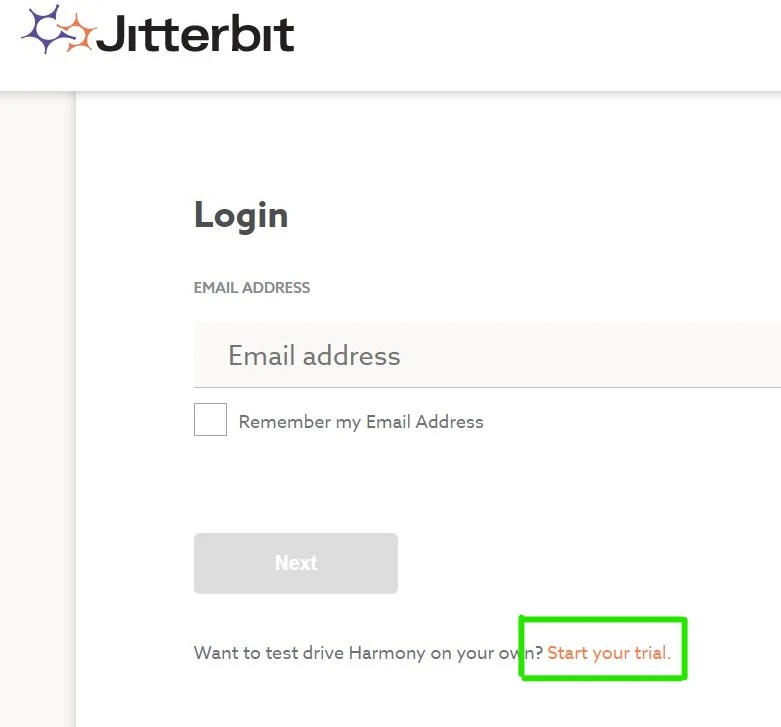
Step 1: Login to Jitterbit Harmony. Login Jitterbit Harmony
Step 2: Create your trial account and fill the required information while creating the account. Or login directly if you already have an active account.

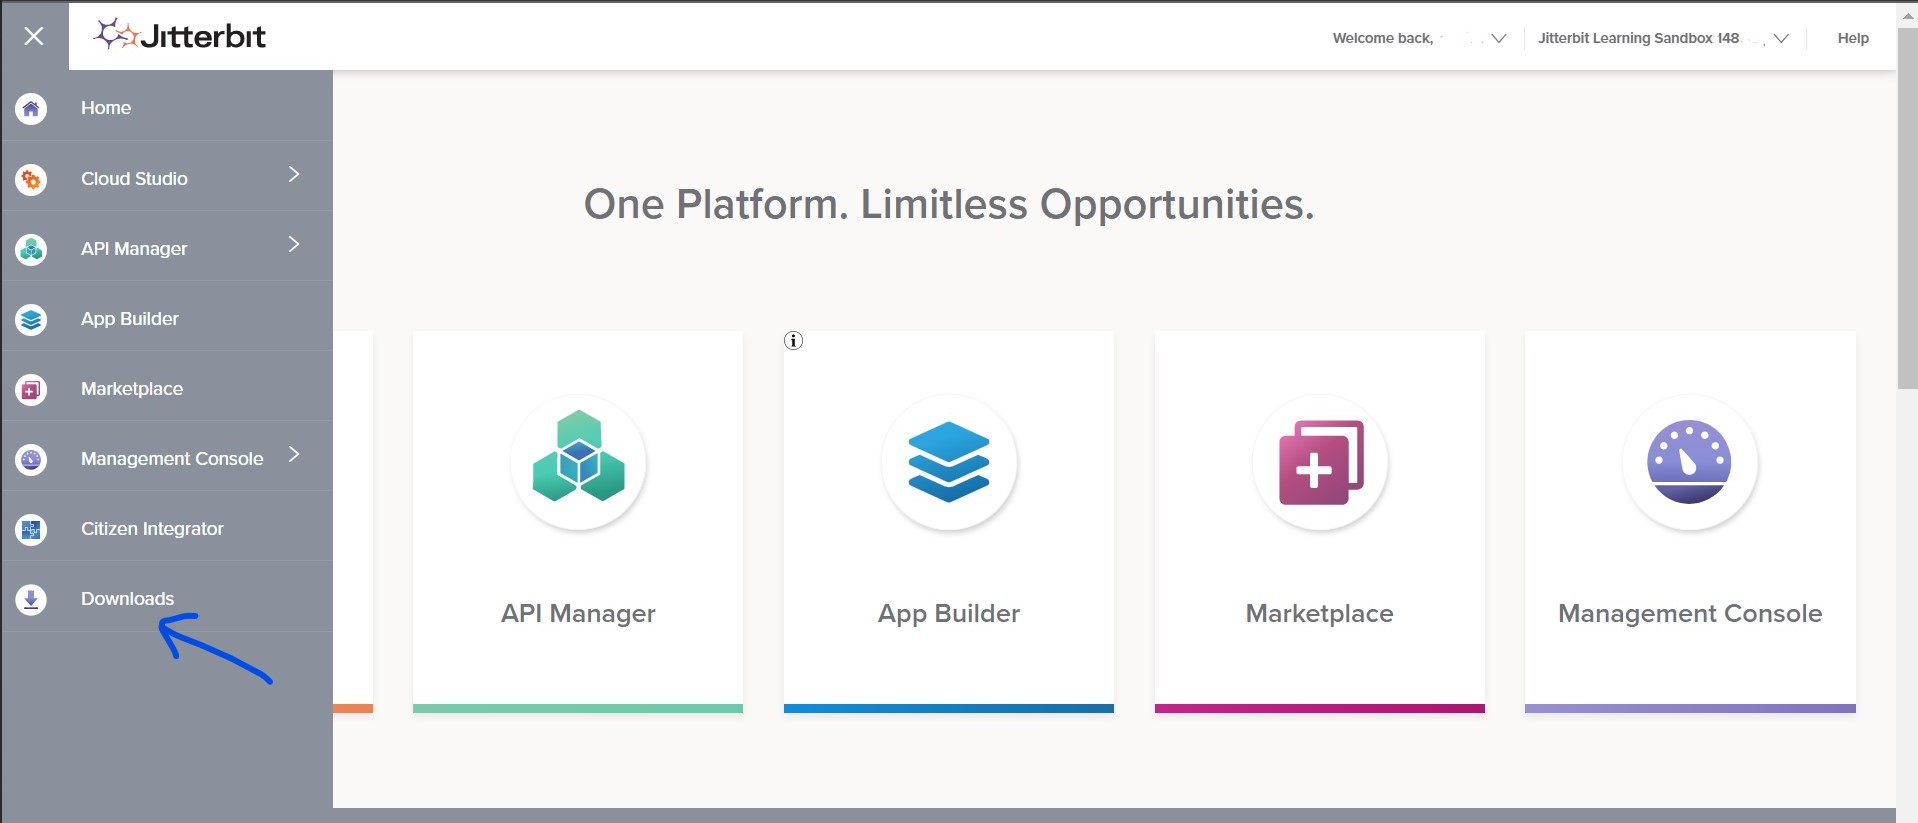
Step 3: Once the trail account is activated then login to JItterbit Harmony Portal, and then click on the Download button that will appear on top left side under burger button.

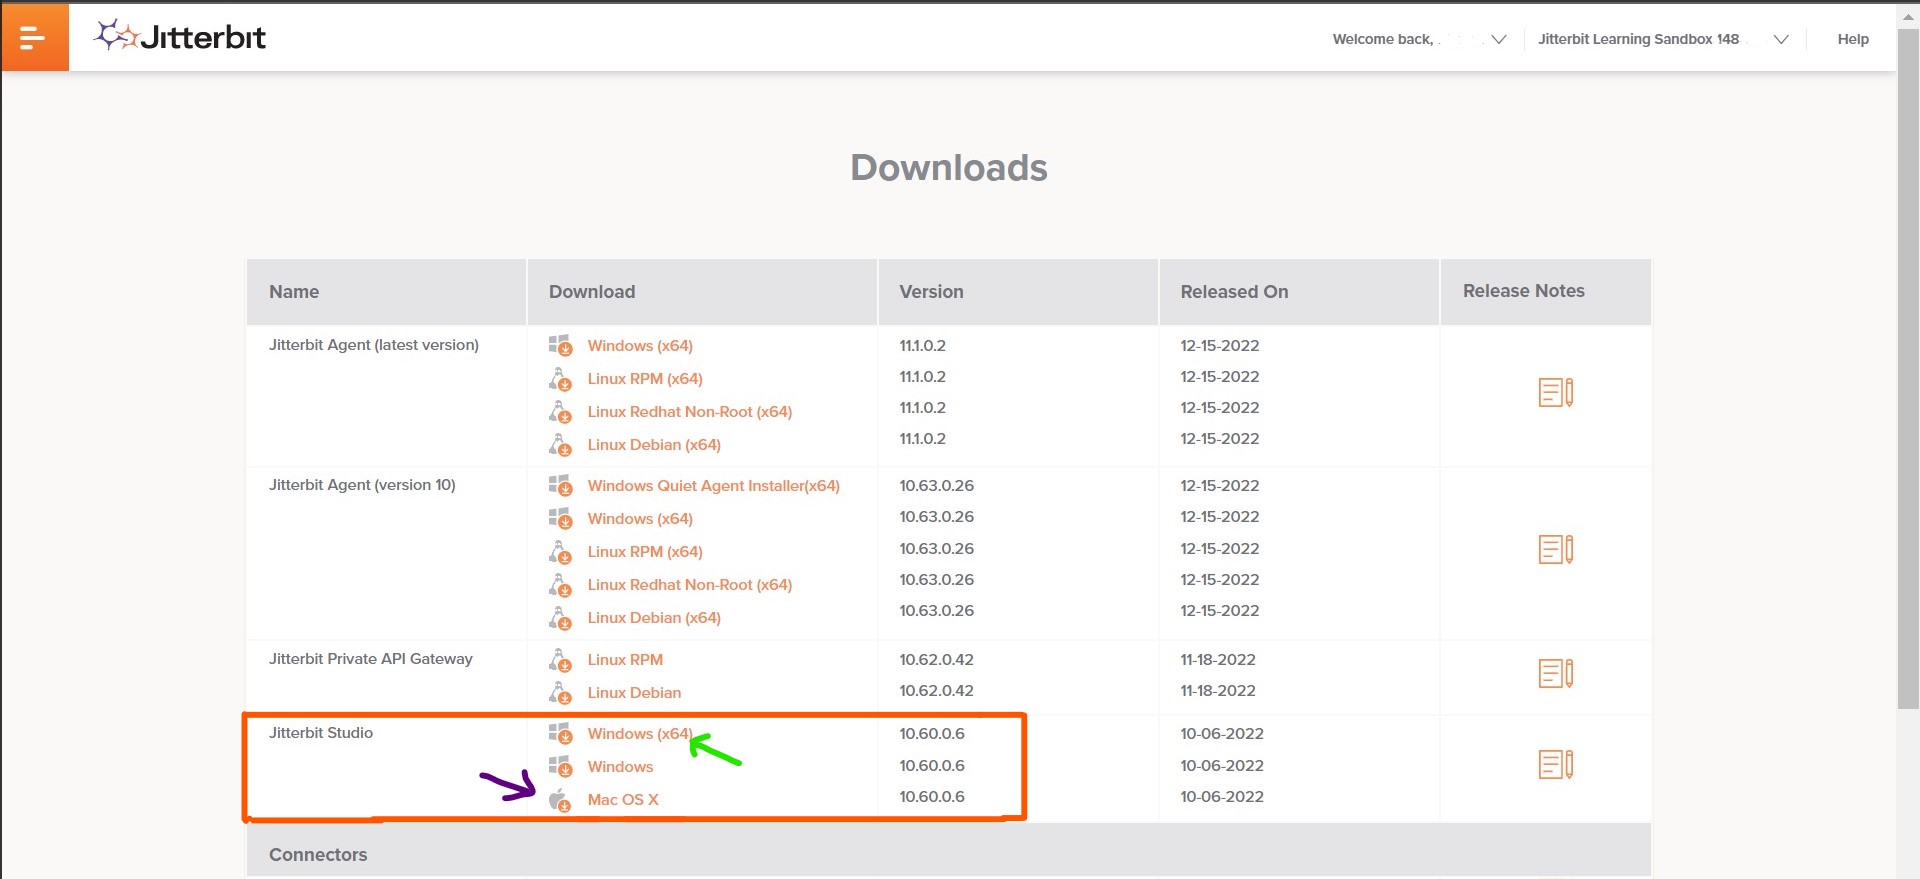
Step 4: Now select the Jitterbit Studio windows or Mac version, don't need to install Jitterbit private API gateway and Jitterbit Agent as you have created trial account therefore Jitterbit will manage Agent configuration and agent run time itself.

Step 5: After Downloaded, run the installation setup file, after that it will ask you to login in the Jitterbit Studio, you have to provide the same credentials that you have used during creating the Jitterbit Harmony account.
Step 6: You may received the Database server details and login credentials in your mail, so used that credentials when you will developing database related integration.
Congrates, the Windows installation setup is completed here, if you have faced any issue write us on comment box.
Download Jitterbit Studio in Linux Ubuntu 22.04, 20.04, 18.4 Operating System:
Step 1:
The Jitterbit Studio application runs on the Java Runtime Environment (JRE) in the Linux operating system; if the JRE or JDK is not installed in the Linux machine, the Jitterbit Studio application will not run and will throw a number of unexpected errors. So, first, configure Oracle Java in your system and, configure the Java path for Jitterbit studio installation.
It may help you: How to install Oracle Java 1.8 in Ubuntu 22.04, 20.04, 18.04.
Step 2:
Once the Java (JRE) installation is complete, go to the Jitterbit Harmony portal to download the Jitterbit Studio. Login Jitterbit Harmony
Note: If you do not have an account in the Jitterbit portal, you can create a free trial account.
Step 3:
Select "Download Jitterbit Studio" for "Mac OS X".

|
| Download Jitterbit Studio "Mac OS X" version |
Step 4:
Once the Jitterbit Studio Application Downloaded, go to files Downloads directory.
john@Waston$ cd Downloads/
john@Waston:~/Downloads$ ls
JitterbitStudio-10.60.0.6.dmg
Step 5:
Download dmg2img tool, DMG2IMG is a tool which allows converting Apple compressed dmg archives to standard (hfsplus) image disk files.
john@Waston:~/Downloads$ sudo apt-get install dmg2img
Step 6:
converting .dmg to .img
john@Waston:~/Downloads$ dmg2img JitterbitStudio-10.60.0.6.dmg JitterbitStudio-10.60.0.6.img
Step 7:
Extract img file and store it in '/mnt' directory, ex- I have imported it in parent directory "/mnt".
john@Waston:~/Downloads$ sudo mount -o loop -t hfsplus JitterbitStudio-10.60.0.6.img /mnt
john@Waston:~/Downloads$  cd /mnt

john@Waston:~/mnt$ ls
Applications   background  'Jitterbit Studio 10.60.app'   README.txt
Step 8:
Copy .app file in home directory and then replace white space from the .app folder with underscore.
john@Waston:~/mnt$ cp -rp 'Jitterbit Studio 10.60.app' $HOME
john@Waston:~/mnt$ cd $HOME
john@Waston:~$ ls
'Jitterbit Studio 10.60.app'

john@Waston:~$ mv Jitterbit\ Studio\ 10.60.app   Jitterbit_Studio_10.60.app
Step 9:
Copy Original file "launch-studio" to "launch-studio.mac" to restore the original data in case of file Corrupted
john@Waston:~$ cd Jitterbit_Studio_10.60.app/Contents/MacOS
john@Waston:~$ ls
launch-studio

john@Waston:~/Jitterbit_Studio_10.60.app/Contents/MacOS$ cp launch-studio   launch-studio.mac
john@Waston:~/Jitterbit_Studio_10.60.app/Contents/MacOS$ ls
launch-studio   launch-studio.mac
Step 10:
Open "launch-studio" file in any text editior, "gedit" text editior is used here.
john@Waston:~/Jitterbit_Studio_10.60.app/Contents/MacOS$ gedit launch-studio
Step 11:
Comment the code from two place and add new code.
#Comment Line 15 by using "#":
#APP=$(mdfind kMDItemCFBundleIdentifier=="com.jitterbit.studio1060" | head -1)

# And replace with this Line:
APP="$HOME/Jitterbit_Studio_10.60.app"; export APP


#Comment Line 52:
    #err=$("$JRE" -client $STARTUP_ARGUMENTS -splash:"$JITTERBIT_CLIENT_HOME/splashscreen.png" -Xdock:icon="$APP/Contents/Resources/client_icon_256_mac.icns" -classpath "$libdir/*:$JITTERBIT_CLIENT_HOME/configuration/" com.jitterbit.integration.client.osx.Jitterbit)

# And replace with this Line:
    err=$("$JRE" -client $STARTUP_ARGUMENTS -splash:"$JITTERBIT_CLIENT_HOME/splashscreen.png" -classpath "$libdir/*:$JITTERBIT_CLIENT_HOME/configuration/" com.jitterbit.integration.client.osx.Jitterbit)
Step 12:
Now run the Jitterbit Studio script.
$ ./launch-studio;
Congrates, the installation setup is completed here, if you have faced any issue write us on comment box.
